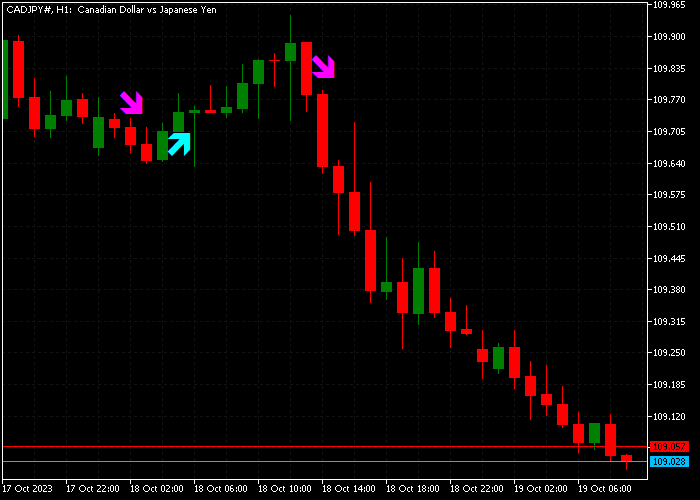
The Show Trade History indicator developed for Metatrader 5 exhibits a comprehensive record of your historical and present trades directly on the price chart.
It includes valuable information like the profit or loss incurred for each trade, as well as whether it was a buy or sell trade.
The profit is presented in points by default for enhanced clarity.
Key Features
- show trades
- show profit as (points, currency)
- show open trades
- Limit trades to show on the chart
- color scheme
This indicator is compatible with all trading instruments offered on the MT5 charting platform.
Download Indicator
ShowTrades.mq5 Indicator (MT5)
Trading Chart
The picture below displays what the Show Trade History indicator looks like when applied to the MT5 chart.
Scalping Strategy For MT5 with Visual Trade History and VHP Channel Breakouts
This strategy leverages the Show Trade History on Chart Indicator to review your past trade performance directly on your chart, combined with breakout signals from the VHP Channel Scalper Indicator to time scalping entries.
Strategy Overview
By visualizing previous trade entries and exits, you can identify your winning patterns and mistakes.
The VHP Channel Scalper Indicator marks dynamic support and resistance channel levels ideal for fast scalp trades.
Buy Setup
- Observe the VHP Channel’s lower band and wait for the price to bounce or break above it.
- Confirm a bullish price action candle closing above the lower channel band.
- Check your past trades on the chart to confirm if similar setups were profitable using the Trade History Indicator.
- Enter a buy position at candle close with a tight stop-loss just below the channel band.
- Set the take profit near the upper channel band or use a fixed pip target (e.g., 10-15 pips).
Sell Setup
- Watch the VHP Channel’s upper band and wait for the price to reject or break below it.
- Confirm a bearish candle closing below the upper band.
- Review your trade history on the chart to identify successful sell setups with this indicator.
- Enter a sell trade with a stop-loss above the upper channel band.
- Take profit near the lower channel band or after a fixed number of pips.
Tips for Best Results
- Use this scalping strategy on lower timeframes like M5 or M15.
- Review your historical trades frequently using the Show Trade History Indicator to improve your strategy.
- Trade during active market hours with good liquidity to reduce spread impact.
This combined approach helps you learn from your trading history visually while capitalizing on channel breakout scalps with the VHP Channel Scalper Indicator.
The Show Trade History on Chart Indicator aids continuous improvement and smarter trade management.
Download Now 🆓
ShowTrades.mq5 Indicator (MT5)
Frequently Asked Questions
How Do I Install This Custom Indicator On Metatrader 5?
- Open the MT5 trading platform
- Click on the File menu button located at the top left part of the platform
- Click on Open Data Folder > MQL5 folder > Indicators
- Copy the ShowTrades.mq5 indicator file in the Indicators folder
- Close and restart the trading platform
- You will find the indicator here (Navigator window > Indicators)
- Drag the indicator to the chart to get started with it!


