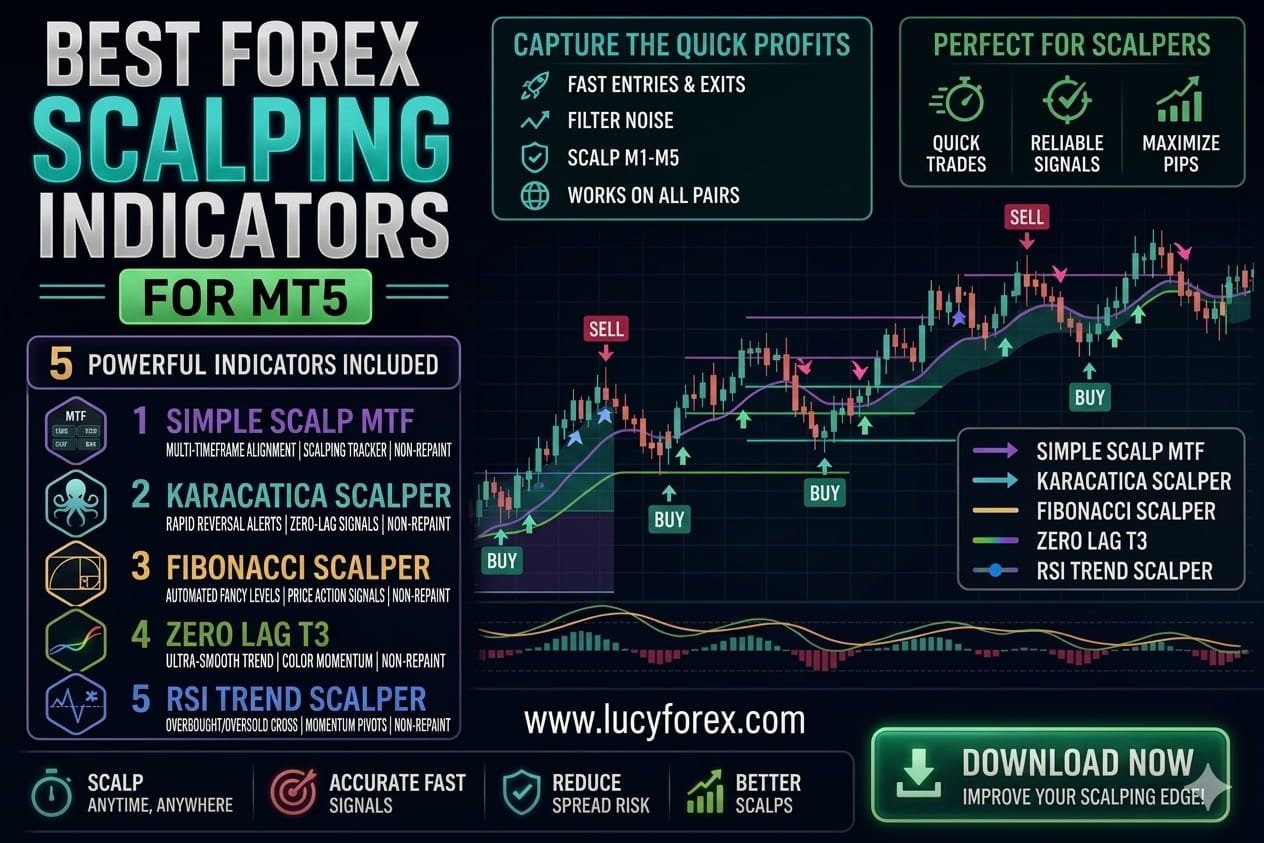
About the Candle Timer + Spread Indicator
The Candle Timer + Spread Indicator for MT5 provides two essential tools directly on the price chart: a countdown timer for the current candle and a real-time spread monitor.
The candle timer helps traders track the time remaining until the next bar appears, which is essential for timing entries and exits on short-term charts.
The spread monitor displays the current bid-ask spread, allowing traders to avoid entering trades during unusually wide spreads.
The indicator is fully customizable, with options to change the clock color and position on the chart.
Free Download
candle_time_end_and_spread.mq5 Indicator (MT5)
Key Features
- Displays a countdown timer for the current candle.
- Shows real-time spread for the active currency pair.
- Customizable clock color and chart corner placement.
- Helps time trade entries and exits accurately.
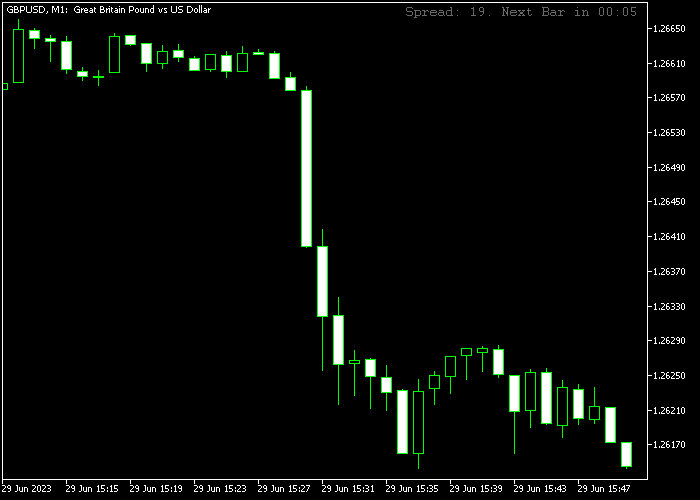
Indicator Chart
The countdown timer is displayed prominently in the chosen corner, showing seconds left until the next candle.
The spread monitor updates in real time, showing the current difference between bid and ask prices.
These tools help traders avoid poorly timed entries and account for trading costs.
Guide to Trade with Candle Timer + Spread Indicator
Buy Rules
- Monitor the candle timer to enter at the start of a new bullish candle.
- Ensure the spread is within acceptable limits for the currency pair.
- Confirm your buy setup using your preferred strategy or trend indicator.
- Avoid entering during high spread spikes or low liquidity periods.
Sell Rules
- Wait for the candle timer to approach the start of a bearish candle.
- Check that the spread is not unusually wide.
- Use your standard sell conditions to confirm the setup.
- Avoid selling when the market shows irregular spreads or volatility.
Stop Loss
- Set stop loss according to your strategy and timeframe.
- Use nearby swing highs or lows as logical reference points.
- Consider wider stops if trading during volatile spreads.
- Maintain consistent risk per trade based on account size.
Take Profit
- Determine targets according to your trading system or price levels.
- Close trades before the next significant candle reversal.
- Partial exits can be used to lock in profits on longer trades.
- Monitor spread and timing to avoid slippage on exits.
Download Now
candle_time_end_and_spread.mq5 Indicator (MT5)
FAQ
Can I use this indicator on any MT5 instrument?
Yes. It works with all currency pairs, commodities, indices, and other instruments available on MT5.
Does it work on all timeframes?
Yes. The countdown timer and spread display function on every timeframe, from M1 to monthly charts.
Can I move the timer or change its color?
Yes. You can customize the clock color and choose which chart corner it appears in.
How does it help with trade execution?
By showing candle expiration and real-time spreads, it helps traders enter and exit at optimal moments and avoid high-cost trades during wide spreads.
Summary
The Candle Timer + Spread Indicator provides essential information for precise trade timing and cost awareness.
The countdown timer ensures traders can enter and exit at the most favorable moments, while the spread monitor helps avoid excessive trading costs.
Its simplicity and adaptability make it a valuable companion for scalpers, intraday traders, and swing traders alike.
Customizable placement and color options allow seamless integration into any chart layout.
By combining timing and spread awareness, traders can make more informed, strategic decisions in all market conditions.